
Before you start
What you'll need
Let's take the guesswork out. Reconstitution is simple once you have the right few things — and (just as important) once you understand what each piece is forand how it all fits together. Here's the calm, honest version: you need exactly five things, and none of it is complicated.
Your peptide
What it is: The star of the show — a lyophilized (freeze-dried) peptide in a sealed glass vial.
Why you need it: This is the medicine you already decided on. It arrives as a dry powder to stay stable during shipping and storage.
How it's used: It starts this whole process. Everything else is in service of turning this powder into something you can use.
Bacteriostatic water (BAC)
What it is: Sterile water with a small amount of preservative that stops bacteria from growing.
Why you need it: Once you poke the vial and add liquid, bacteria can get in. BAC water keeps the mixed peptide safe to use over several weeks.
How it's used: This is the 'water' that dissolves your powder. You use a small amount — usually 1–3 mL depending on the vial.
A larger syringe (reconstitution)
What it is: Typically a 3 mL syringe with a 23-gauge needle.
Why you need it: You need this one to draw up the BAC water and inject it into the peptide vial. Bigger gauge = bigger hole = less pressure when pushing liquid.
How it's used: Used exactly once, to add the water. It is not for injecting yourself — only for mixing.
A measuring syringe (U-100)
What it is: A very thin 31-gauge insulin syringe marked in 'units' (100 units = 1 mL).
Why you need it: After reconstitution you need to draw a precise dose. The fine 31-gauge needle also makes any injection gentler.
How it's used: This is the one you use for your actual dose, every time. The unit markings are how you measure the right amount.
Alcohol prep pads
What it is: Single-use antiseptic wipes.
Why you need it: Cleaning the rubber stopper of both vials before you poke them is the single most important safety step.
How it's used: Wipe each vial top and let them air-dry before you mix. It only takes a few seconds — never skip it.
How the pieces fit together
- 1
Clean the workspace and your hands. Wipe both vial tops with an alcohol pad and let them air-dry.
- 2
Use the 3 mL syringe to draw the BAC water.
- 3
Slowly inject the BAC water into your peptide vial — down the inside wall, not onto the powder.
- 4
Gently swirl until it dissolves into a clear liquid (shaking isn't the disaster the forums claim, but gentle is the smart default). Now it has a concentration.
- 5
Use the U-100 syringe to draw your dose using the unit markings — guided by the reconstitution calculator.
- 6
Refrigerate, label the date, and use within the recommended window.
The full step-by-step lives in the Reconstitution Guide — and the Start Learning course walks you through it with audio and visuals.
Injection safety, without the panic
Most research peptides are given under the skin (subcutaneous) — a tiny needle into the fat just under the skin, not a deep muscle shot. Most of the fear around it is misplaced. These are the facts that actually matter, separated from the myths.
Aspiration was never a proven step
Pulling back on the plunger to check for blood is a habit carried over from deep-muscle injections — and studies of subcutaneous insulin found it returned blood exactly zero times out of hundreds of attempts. It was never shown to be a reliable indicator of anything, and every insulin/GLP-1 pen makes it mechanically impossible anyway. Aspirating buys little more than a bruise.
Small air bubbles are the myth that scares newcomers most
The math settles it: a lethal dose of air is theorized around 300–500 mL pushed into a vein at speed. A whole U-100 syringe holds 1 mL — hundreds of times short of that, before the air would even have to find a vein instead of the fat. The only real reason to clear a bubble is mundane: air takes up room in the barrel that was meant for peptide, so on a tiny syringe a visible bubble is a real slice of the dose. Clear it for accuracy, not fear.
Sharps go in a sharps container — never the trash
A loose needle in a kitchen bin is a real injury risk for whoever handles the bag next. Don't put loose sharps in the trash, recycling, or the toilet. A purpose-made container costs a few dollars; where one isn't available, a heavy-duty, leak-resistant container with a tight puncture-resistant lid (the classic example is a plastic laundry-detergent bottle) works — kept away from kids and pets, sealed, and disposed of per local rules.
A local reaction is normal — anaphylaxis is an emergency
Some peptides trigger a histamine-like response: redness, itching, or a raised welt at the site that settles within an hour. That's a reported property of certain compounds, not a sign something went wrong. But a reaction spreading well beyond the site — hives, swelling of the lips, tongue, or throat, trouble swallowing or breathing, wheezing, dizziness, vomiting, or a sudden feeling that something is badly wrong — is a different thing entirely.
If that happens: call emergency services immediately
Use an epinephrine autoinjector in the outer thigh if one is available. An antihistamine is not the answer, and neither is waiting to see if it eases — these reactions can come back hours after they seem to settle.
Where to get the gear
These are the sources we personally trust for BAC water, syringes, and antiseptic — the same gear we use ourselves. No affiliate links, no commissions.
BAC Water

ParroX
Bacteriostatic water (BAC water) for reconstitution
Why we trust them: Trusted, consistent source for clean sterile water
✓ Verified: Personal use + batch verification

Pfizer / Hospira BAC Water
Pfizer (Hospira) bacteriostatic water — 30ml vial
Why we trust them: Name-brand bacteriostatic water from Pfizer/Hospira — a clean, trusted, widely-recognized source of BAC water
✓ Verified: Owner vetted source
Syringes, Antiseptic & Handling Gear
U100 31G syringes (injection)
U-100 31-gauge insulin syringes, for injecting
Why we trust them: Standard thin-gauge syringe — clean, single-use, minimal injection-site sting
✓ Verified: Personal use
3mL 23G syringes (reconstitution)
3mL 23-gauge syringes, for reconstitution
Why we trust them: Right size and gauge for adding BAC water to a vial
✓ Verified: Personal use
Alcohol prep pads
Alcohol prep pads / antiseptic wipes
Why we trust them: Standard prep for cleaning vial tops and injection sites
✓ Verified: Personal use
An alternative route
Peptide pens — is the click worth it?
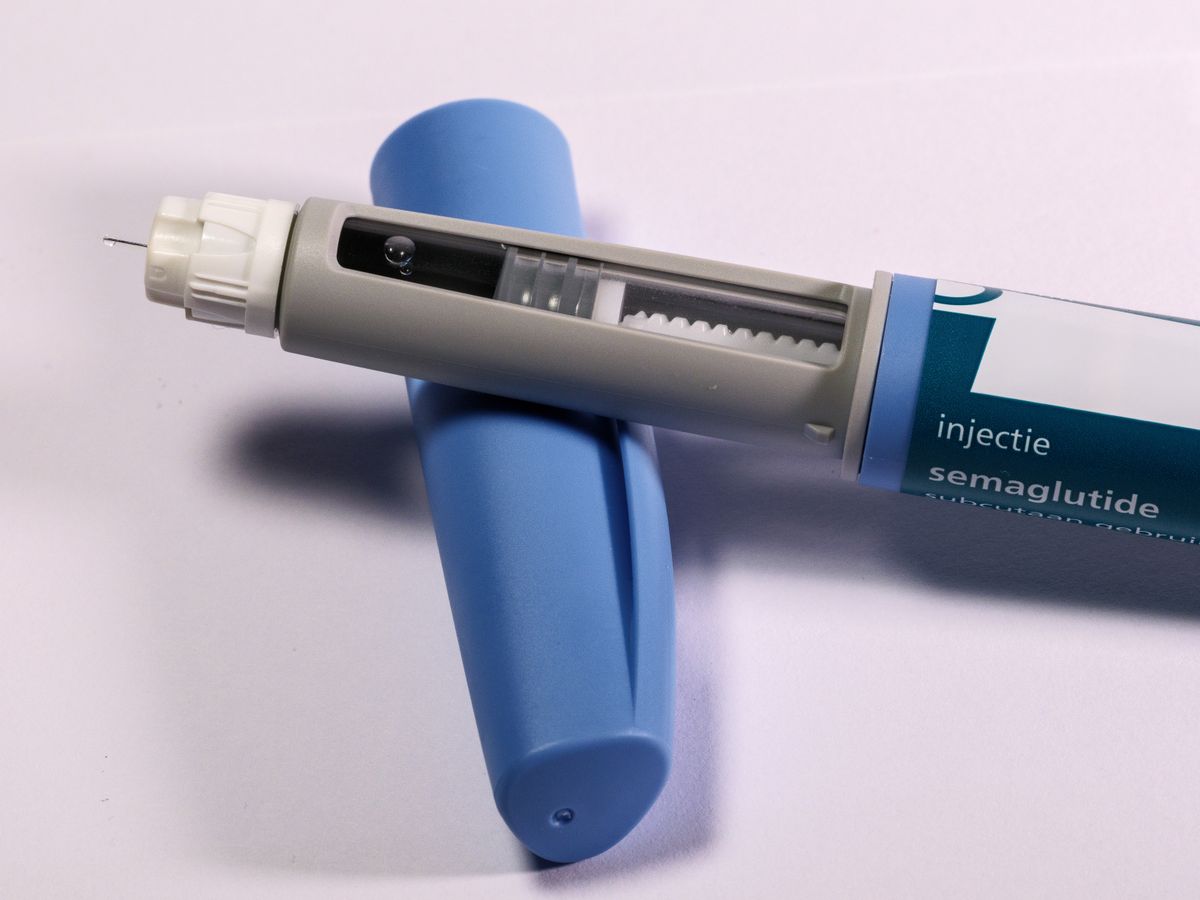
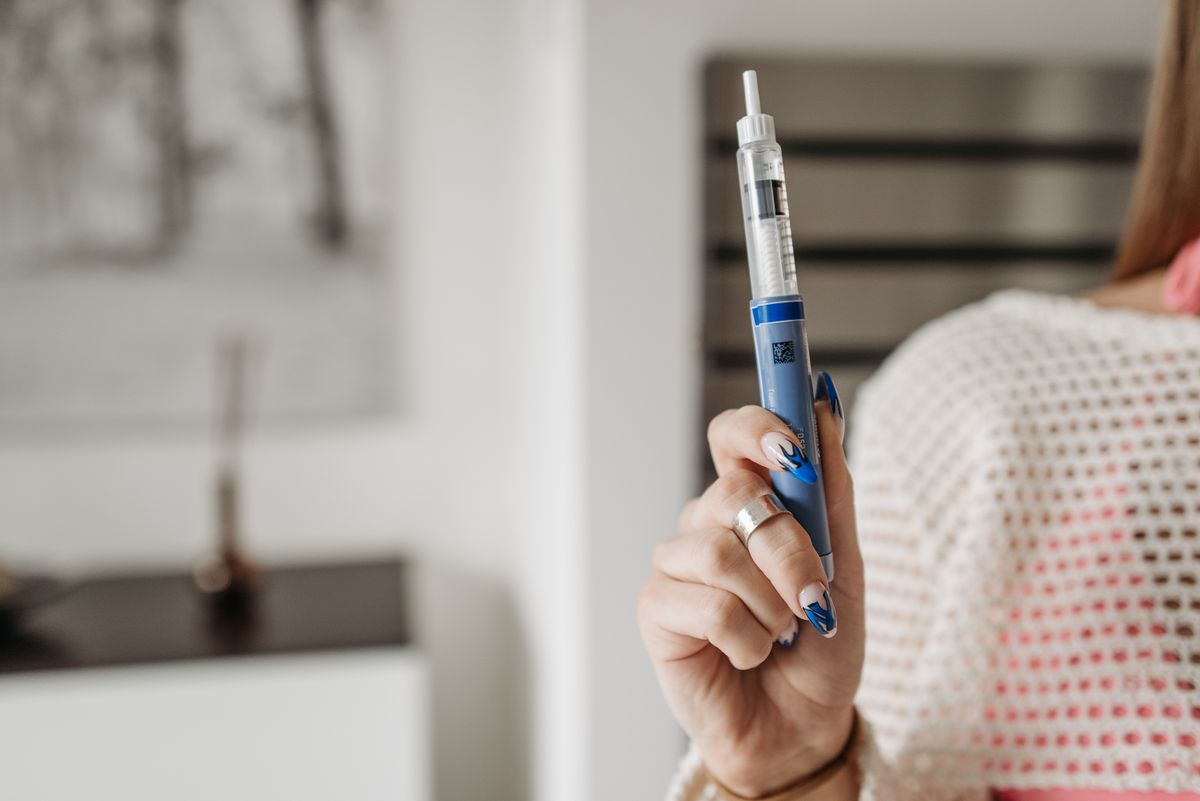
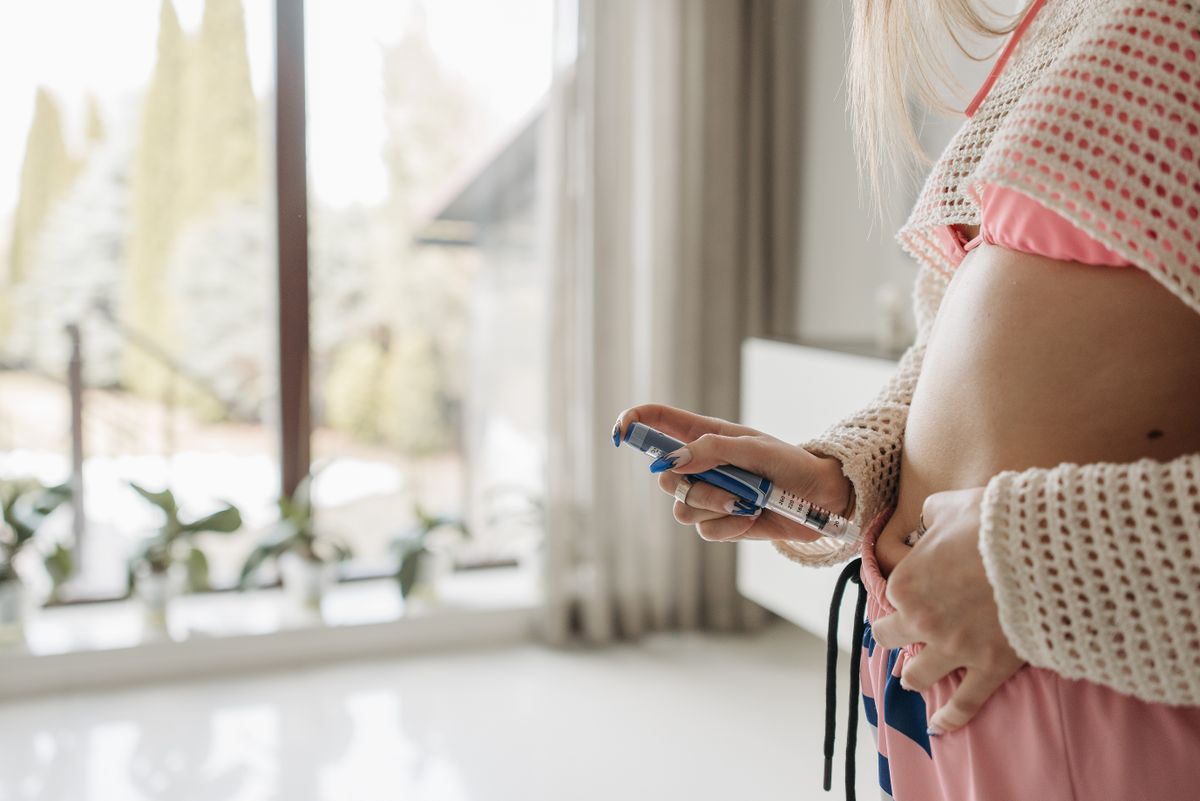
So far we've talked exclusively about syringes. That's the most common and cheapest path — but it is notthe only one. Peptide pens are a growing alternative: instead of measuring each dose yourself with a syringe, you dial a number and click. There's real appeal there — and real catch. This section walks you through how they actually work, so the choice is educated, not “that looks neat.”
The anatomy of a pen
🖊️
The pen
- • A small mechanical device holding a cartridge of liquid.
- • Dial your dose, press the trigger, click — done.
- • Hides the math: no drawing, no reading a meniscus.
- • Tiny single-use screw-on pen needle (~4–8 mm, 29–32G).
💉
The syringe
- • Draw the reconstituted liquid into a barrel yourself.
- • Read the units off the side of the barrel.
- • You do the concentration math (with our calculator).
- • Full control over every dose — any concentration.
Three kinds of pen you'll actually see
Prefilled disposable
Factory-set concentration and dose. Click and go, discard the whole pen when empty. (Think branded GLP-1 pens.) Fewest steps — zero measuring.
Refillable / self-fill
You keep the pen body and load your own cartridges. You reconstitute the peptide, fill a cartridge, install it, dial, inject. Cheaper per use than disposable, more to learn.
Compound-spa pen
Telehealth/clinic fills the cartridge for you at a set concentration; you just click at home. Convenient, but you're locked to what they set — and it's usually the priciest.
How you fill a refillable pen
This is the part with “more moving parts.” It's straightforward, but you do more steps than with a syringe. Here's the standard workflow.
- 1
Reconstitute first — same as a syringe. Mix the peptide powder with bacteriostatic water until it is a clear liquid with no cloudiness.
- 2
Set up on a hard, flat surface. Clean with alcohol, wash your hands, lay out your solution, an empty cartridge, a ~3 mL draw syringe, and alcohol swabs.
- 3
Draw up to ~3 mL of reconstituted liquid into the syringe and remove air bubbles.
- 4
Place the empty cartridge bung-side DOWN on the hard surface and hold firm pressure. This resistance keeps the rubber bung from blowing out when you inject.
- 5
Insert the needle straight down through the center of the cartridge neck and inject SLOWLY in ~0.5 mL steps, pausing a few seconds each time so trapped air can escape.
- 6
Let air escape, then withdraw. Install the filled cartridge into the pen and screw on a fresh pen needle.
- 7
PRIME the pen — dial a small test dose (~2–4 units) and click it into the air, not your skin, to clear air and confirm a clean stream before the real dose.
The single most important pen warning
Pen units are NOT insulin units.The numbers on a pen dial are calibrated to that specific pen's concentration. A “click” on a pen has no fixed relationship to a “unit” on a U-100 syringe — they are different scales for different concentrations.
On a prefilled pen the dial is set by the maker, so it shows the drug dose directly (nothing to calculate). On a self-fillpen you set the concentration yourself, so you must map your own mg/mL to the pen's unit scale — the same math you'd do for a syringe. Never assume the dial reads like an insulin syringe.
Lab and community practice typically primes a fresh cartridge with 2–4 units before the first real dose to clear air.
Pen vs syringe — the honest trade-off
Why someone picks a pen
- • Consistent, repeatable — calibrated clicks beat reading a meniscus.
- • Faster, less prep per injection (great for daily doses).
- • Less intimidating to many people; tiny discrete needle.
- • Prefilled = zero math, click and go.
The trade-offs to know
- • More expensive per dose (device + cartridge hardware).
- • More moving parts — dial, lead screw, bung — more that can jam or leak.
- • Self-fill type: reconstitution + cartridge loading + priming + dial mapping to learn.
- • Locked to the pen's concentration and click increments.
Bottom line:a pen buys speed and zero arithmetic at the cost of being locked to one concentration and fixed dose steps. A syringe buys full control over concentration and dose at the cost of doing the math yourself. Neither is “better” in the abstract — it depends on your protocol.
Where to get pens
If you want to go the pen route, these are the suppliers we personally vouch for. Always re-verify the specific pen's cartridge style and needle compatibility before buying.
Peptide Pens

Peptide Critic
Peptide pens and pen-based delivery for reconstituted peptides
Why we trust them: A source focused on the pen route — convenient, repeatable dosing for those who prefer a pen over a manual syringe
✓ Verified: Owner vetted source (pens & pen supplies)

Avas Research
Peptide pens and pen delivery accessories
Why we trust them: Carries the pen route as an alternative to syringes — useful for the pen vs syringe decision
✓ Verified: Owner vetted source (pens & pen supplies)
Prefer a syringe? Everything above the pen kit covers that path in depth — including the Reconstitution Guide and the supplies you'll need.
Want the peptide itself? Find it on our Trusted Sources page. Educational content — not medical advice.